Homeowners Club If you are one of the 15 million homeowners in the UK, the free to join online Homeowners Club is for you.
Related Articles


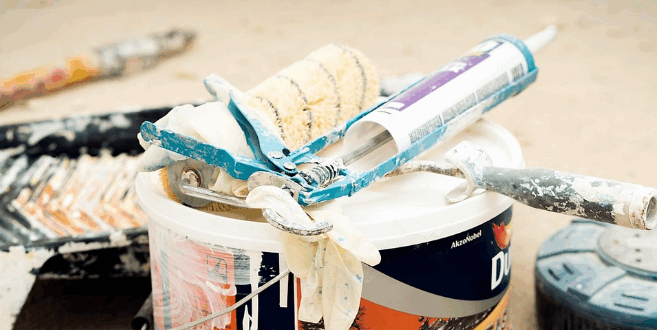
A fresh coat of exterior paint can completely transform the look of your home, boost curb appeal, and protect it from the elements. While painting the outside of your home may seem daunting, with the right preparation and techniques, it’s a project that many homeowners can tackle themselves. Here’s a step-by-step guide to help you get professional-looking results.
Choose the Right Paint and Tools
The first step is selecting high-quality exterior paint suited to your home’s material (wood, brick, stucco, or vinyl). Look for weather-resistant, fade-proof paints that can withstand sun, rain, and temperature changes.
Essential tools include:
- Paintbrushes of various sizes
- Paint rollers with extension poles
- Paint trays
- Drop cloths
- Painter’s tape
- Ladder or scaffolding
- Scrapers and sanding tools
Inspect and Prepare the Surface
Preparation is critical for a long-lasting paint job. Inspect the exterior for peeling paint, cracks, mold, or mildew. Scrape away loose paint and sand rough areas to create a smooth surface. Clean the walls thoroughly using a pressure washer or scrub brush to remove dirt and grime.
Repair any damage with exterior caulk or filler, and allow it to dry completely before painting.
Protect Surrounding Areas
Use drop cloths to cover plants, walkways, and furniture near your home. Apply painter’s tape along edges, window frames, doors, and trim to ensure clean, sharp lines. Proper protection makes cleanup easier and prevents accidental splatters.
Prime the Surface
Priming ensures better adhesion, a more even finish, and longer-lasting paint. Apply a coat of exterior primer, especially on bare wood, patched areas, or surfaces that were previously painted in a darker color. Let the primer dry fully before applying paint.
Apply the Paint
Start painting from the top and work your way down to prevent drips on freshly painted areas. Use a brush for edges, corners, and trim, and a roller for larger flat surfaces. Apply the paint evenly, using long, smooth strokes.
Most exteriors require two coats for full coverage and durability. Allow the first coat to dry completely before applying the second.
Paint Trim and Details
Once the main surfaces are painted, focus on trim, doors, shutters, and other architectural details. Use a smaller brush for precision. Contrasting colors on trim or doors can create a striking effect and enhance your home’s overall appearance.
Clean Up and Inspect
After painting, remove painter’s tape carefully while the paint is slightly wet to prevent peeling. Clean brushes, rollers, and trays with water (for latex paint) or paint thinner (for oil-based paint). Inspect the exterior for missed spots or uneven areas and touch them up as needed.
Maintain Your Paint Job
A properly painted exterior can last 5–10 years, depending on the paint and weather conditions. Regularly inspect your home’s exterior, clean off dirt or mildew, and address small cracks or chips promptly to keep your paint looking fresh.
Painting the outside of your home is a rewarding DIY project that can dramatically enhance curb appeal and protect your investment. With careful preparation, quality materials, and a systematic approach, you can achieve professional-looking results that will last for years.