Painting the exterior of your home is one of the most impactful ways to boost curb appeal, protect your investment, and refresh its personality. Whether you’re updating tired siding or preparing to sell, a new paint job can transform your property.
While it’s a bigger task than painting indoors, with the right prep and tools, it’s entirely doable—even for enthusiastic DIYers. Here’s a step-by-step guide on how to paint your home’s exterior for long-lasting, professional-looking results.
1. Prep Work: The Foundation of a Flawless Finish
Before you even touch a paintbrush, preparation is key. Skimping here can lead to peeling, cracking, and wasted effort.
- Clean the surface – Use a power washer to remove dirt, mildew, and peeling paint. Let the surface dry completely.
- Scrape and sand – Remove any flaking paint. Sand rough spots for a smooth finish.
- Repair damage – Fill cracks, holes, or gaps with exterior-grade filler or caulk. Replace rotted wood.
- Protect fixtures – Use painter’s tape and plastic sheeting to cover windows, doors, lights, and landscaping.
Tip: Painting over a dirty or damaged surface guarantees poor adhesion—don’t skip the prep!
2. Choose the Right Paint & Tools
Paint Type:
- Use 100% acrylic latex paint for durability, flexibility, and fade resistance.
- For masonry, choose paint specifically designed for concrete or stucco.
Finish:
- Flat/matte: Hides imperfections but less washable.
- Satin/eggshell: Popular for siding—offers slight sheen and better durability.
- Semi-gloss: Ideal for trim, doors, and shutters.
Tools:
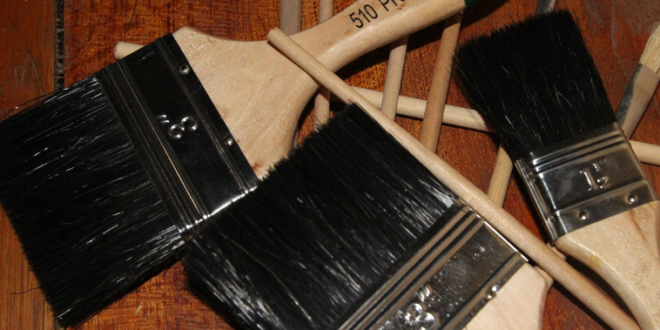
- Paintbrushes for detail work
- Rollers for large, flat areas
- Extension poles and ladders
- Paint sprayer (optional for speed and coverage)
Colour tip: Choose shades that suit your surroundings and architecture. Test a few samples in natural light before committing.
3. Watch the Weather
Timing is everything. Paint in dry conditions, ideally on a mild day with low humidity.
- Optimal temperature: Between 10°C and 30°C (50–85°F)
- Avoid direct sunlight while painting—it dries paint too quickly and causes uneven application.
- Check the forecast—no rain for at least 24 hours after painting is ideal.
Pro tip: Paint the shady side of the house first and follow the shade around the home.
4. Prime First (When Necessary)
Priming improves adhesion and creates a uniform base, especially if:
- You’re painting over bare wood or patched areas
- You’re drastically changing colour (e.g., dark to light)
- The previous paint is chalky or stained
Some exterior paints are paint-and-primer in one, but standalone primer often gives better long-term results on older homes or rough surfaces.
5. Paint Like a Pro: Technique & Tips
- Start from the top and work your way down.
- Apply paint in smooth, even strokes or consistent passes with a sprayer.
- For wood siding: follow the grain and work in manageable sections.
- Apply two coats for the best coverage and durability.
- Allow ample drying time between coats.
Don’t forget: Carefully paint trim, fascia, window frames, and doors last for clean, sharp edges.
6. Clean Up & Final Touches
- Remove tape before the paint fully dries to avoid peeling.
- Wash brushes, rollers, and trays thoroughly if you plan to reuse them.
- Safely store leftover paint (label it!) for future touch-ups.
Satisfaction tip: Take before-and-after photos—you’ll be amazed by the transformation!
Bonus: When to Call in the Pros
Consider hiring professionals if:
- Your home has multiple stories or difficult-to-access areas
- Lead paint may be present (on pre-1978 homes)
- You’re on a tight timeline or want a specialty finish
While DIY painting can save thousands, expert help often delivers faster, longer-lasting results—especially for larger homes or high-end finishes.
A Coat of Confidence
Painting your home’s exterior may seem like a daunting task, but with patience, planning, and the right approach, it’s a rewarding weekend (or multi-weekend!) project that delivers serious curb appeal. Whether you’re restoring charm or updating your style, a fresh coat of paint is one of the most satisfying home upgrades you can make.
So grab your brush—and paint your home proud.
 Homeowners Club If you are one of the 15 million homeowners in the UK, the free to join online Homeowners Club is for you.


