Homeowners Club If you are one of the 15 million homeowners in the UK, the free to join online Homeowners Club is for you.
Related Articles


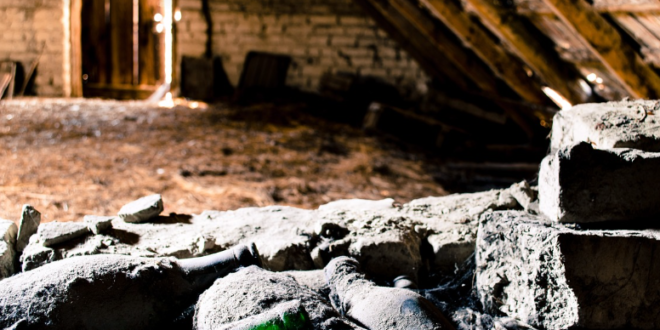
Boarding your loft can be a transformative project, turning an underutilized space into valuable storage or even a functional living area. Whether you’re looking to declutter your home or create additional room for storage, proper planning and execution are essential for a successful loft boarding project. In this guide, we’ll walk you through the steps to board your loft efficiently and safely.
Step 1: Assessing the Space
Before diving into the project, start by assessing your loft space. Measure the area to determine its dimensions and identify any obstacles such as pipes, cables, or insulation that may need to be worked around. Additionally, check the condition of the loft floor and ensure it can support the weight of the boards and any items you plan to store.
Step 2: Preparing the Area
Clear out any clutter and debris from the loft space to create a clean and safe working environment. If necessary, install a loft ladder or access hatch to make it easier to enter and exit the space during the boarding process. Ensure that there is proper lighting and ventilation in the loft to facilitate the work.
Step 3: Installing Loft Legs or Joists
To create a raised platform for your loft boards, consider installing loft legs or joists. Loft legs are adjustable supports that raise the loft boards above the insulation, allowing for improved airflow and preventing compression of the insulation material. Alternatively, traditional joists can be installed to provide structural support for the loft boards.
Step 4: Fitting Insulation
If your loft is not already insulated, consider fitting insulation between the joists to improve energy efficiency and thermal comfort. Choose insulation material that is appropriate for your climate and meets building regulations. Ensure that the insulation is installed evenly and securely, leaving no gaps or voids that could compromise its effectiveness.
Step 5: Installing Loft Boards
With the preparation complete, it’s time to install the loft boards. Begin by laying the first row of boards along one edge of the loft, ensuring they are aligned flush against the loft legs or joists. Use screws or nails to secure the boards in place, spacing them evenly to distribute weight and prevent sagging. Continue laying subsequent rows of boards until the entire loft floor is covered, cutting boards as needed to fit around obstacles.
Step 6: Finishing Touches
Once all the loft boards are in place, take time to inspect the installation for any gaps, loose boards, or protruding screws. Make any necessary adjustments or repairs to ensure a smooth and level surface. If desired, apply a sealant or finish to the boards to protect against moisture and wear, prolonging their lifespan and enhancing their appearance.
Step 7: Organizing Storage
With your loft now boarded, take advantage of the additional storage space by organizing your belongings efficiently. Consider installing shelving, storage bins, or hanging racks to maximize vertical space and keep items organized and easily accessible. Label storage containers and designate specific areas for different categories of items to streamline retrieval and prevent clutter.
Boarding your loft is a rewarding home improvement project that can enhance storage capacity and organization while adding value to your property. By following these steps and exercising caution throughout the process, you can transform your loft into a functional and efficient space that meets your storage needs for years to come. Remember to prioritize safety at all times and consult with a professional if you encounter any challenges or concerns during the project.